
Day after day we receive more news about another company or website being hacked and millions of users’ data being stolen. That’s why in this post we are going to learn how to run security tests on your webapps.

Security is not a matter only a department in IT should be take care of, it’s really important that our apps are security aware since their design to their implementation to avoid huge problems in the future.
In this example, we will be running tests using OWASP ZAP over a vulnerable site called Juice Shop which OWASP offers to do test and learn about this tool.
What is OWASP ZAP
OWASP ZAP (Zed Attack Proxy) is a web app scanner. It’s free and open source and it’s actively maintaned by volunteers in Github. You can learn more about this tool in their official website.
Deploying Juice Shop
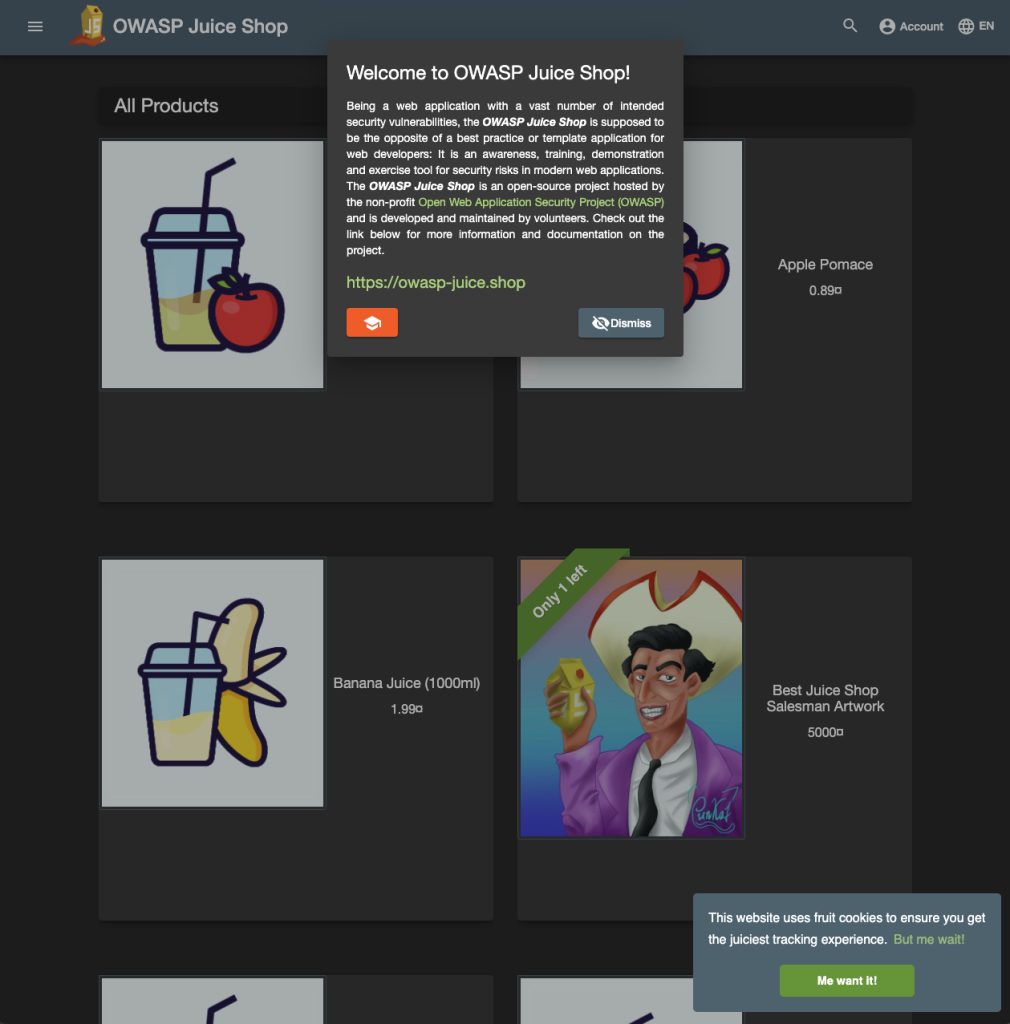
As mentioned in the introduction, we will be using a web site designed for security testing called Juice Shop. This site has multiple vulnerabilities we may be able to detect using OWASP ZAP to learn how to use the tool properly.
OWASP provides us a docker image totally ready to just pull and run, so we can have the site up in just two very simple steps
# Pulling the image from the repository
docker pull bkimminich/juice-shop

# Running a container with the previous image maping the ports in our local machine to access it later
docker run --rm -p 3000:3000 bkimminich/juice-shop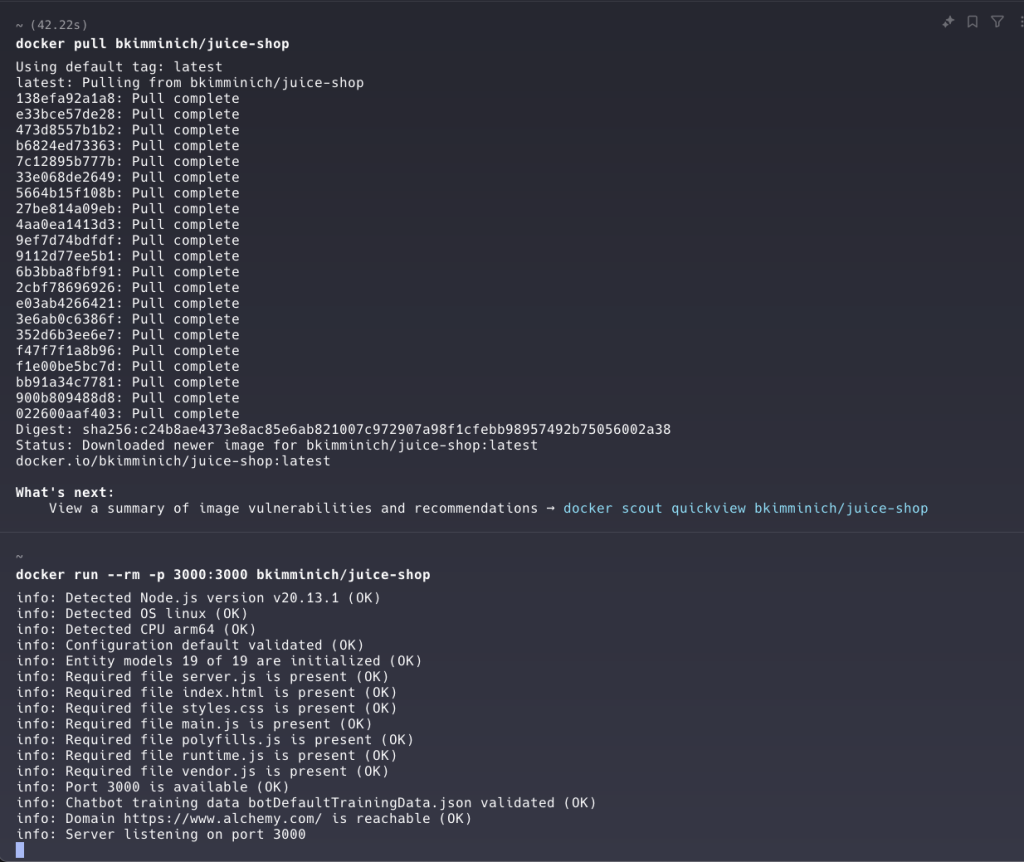
Once we saw the previous output, we will be able to access the page from our localhost at port 3000: http://localhost:3000/#/
Installing OWASP ZAP
OWASP also provides us a docker image to run in our environment to execute our tests, and even automate it.
This tool also offers a GUI with plenty of information, however we will be covering only the command-line tool in this post.
Also, we will be setting the network as host, so we can reach the site running from our localhost. That step is not needed in case the Juice Shop is deployed somewhere else or it’s facing the public internet.
# Getting the image
docker pull softwaresecurityproject/zap-stable

# Running an interactive console in a container with the previous image
docker run -it --network=host softwaresecurityproject/zap-stable bash
Executing our first test
Before starting running the scans, we are going to update ZAP and installing two addons:
- Wappalyzer = this is a technology detection add-on. It detects what the app is actually using.
- Passive Scan Rules = this is the add-on that would help us to scan the web sites.
Once we have installed those add-ons, we will be ready to scan our Juice Shop site previously deployed.
# Installing the add-ons and updating ZAP
./zap.sh -cmd -addonupdate -addoninstall wappalyzer -addoninstall pscanrulesBeta
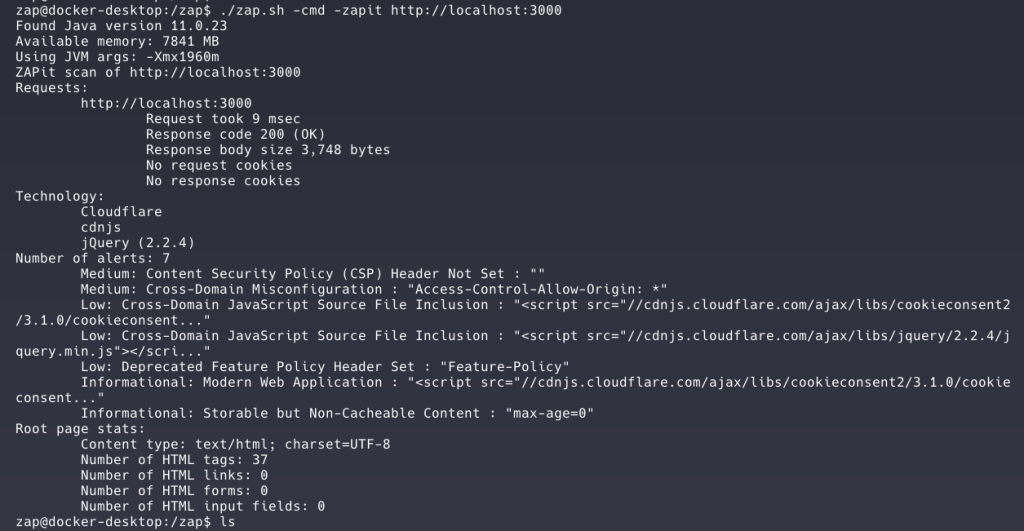
# Executing the test on our Juice Shop site
./zap.sh -cmd -zapit http://localhost:3000After running the test we would be able to see some output with some useful information such as which technology the site is using and some problems sorted by level of criticality.
Farewell
If you want to learn how to perform deeper tests or even integrate these tests with your CI/CD pipelines, stay tune for future posts where we were digging more into this topic.
Also, if you want to know more about automation, read other related posts in the blog.