
Learn how to deploy your Kubernetes app! When we are working with Kubernetes, we might face multiple yaml files for a single application: deployment file, secrets files, service account files, etc. It may be overwhelming in some cases to maintain all those files and keep the last versions on our infrastructure. That’s why here we are gonna learn how to deploy your Kubernetes app using Github and ArgoCD.
In this first part we will be covering the ArgoCD installation using minikube. However, the exactly same steps can be followed in another Kubernetes environment. In the cloud or on-premises.
What is ArgoCD
Argo CD is a declarative, GitOps continuous delivery tool for Kubernetes. Argo CD follows the GitOps pattern of using Git repositories as the source of truth for defining the desired application state.
You can read more info in their official website
Installing ArgoCD
Taking into consideration we already have minikube installed and running with kubectl correctly configured, we just need to create a namespace and deploy a Kubernetes yaml file from the official ArgoCD repository.
kubectl create namespace argocd
kubectl apply -n argocd -f https://raw.githubusercontent.com/argoproj/argo-cd/stable/manifests/install.yaml
It’s important to keep the namespace as the one in the examnple because the manifest we are downloading includes references to it such as some for Service Accounts. If we want or we need to change it, we would need to download the repository before applying the manifest and change the references to the namespace.
Since we are gonna be working in the namespace we just created, a good practice would be setting up the defualt namespace to that one to avoid confusion.
kubectl config set-context --current --namespace=argocdRight after that we would be ready to install the argo command line tool to interact with our ArgoCD via the console. We can just download it from https://github.com/argoproj/argo-cd/releases/latest but if you are using Mac, it can be easier to install it using brew.
brew install argocdWe are able to check that ArgoCD is sucessfully deployed by checking the containers in the current namespace.
k get po
NAME                                               READY   STATUS    RESTARTS   AGE
argocd-application-controller-0                    1/1     Running   0          30m
argocd-applicationset-controller-65bb5ff89-wrfw9   1/1     Running   0          30m
argocd-dex-server-6f898cbd9-4f52l                  1/1     Running   0          30m
argocd-notifications-controller-64bc7c9f7-rpfxk    1/1     Running   0          30m
argocd-redis-5df55f45b7-x8snc                      1/1     Running   0          30m
argocd-repo-server-74d5f58dc5-96zmf                1/1     Running   0          30m
argocd-server-5b86767ddb-lxjl5                     1/1     Running   0          30m
Making our Argo accesible
By default ArgoCD is not exposed to an external IP, so if we need to acces it from outside for example to add new apps or to check the status or our current apps, we must create a Load Balancer, an Ingress or do a port-fordwarding.
Since we are working on minikube, with the port-forwarding would be more than enough. But for cloud environments Ingress may be the right fit. We would be covering now only port-forwarding, but in a later part of this serie we would be working on customizating our ArgoCD by adding other clusters to deploy our apps and exposing it under other kind of network Services.
kubectl port-forward svc/argocd-server -n argocd 8080:443After forwarding we would be able to see our Argo in our localhost.
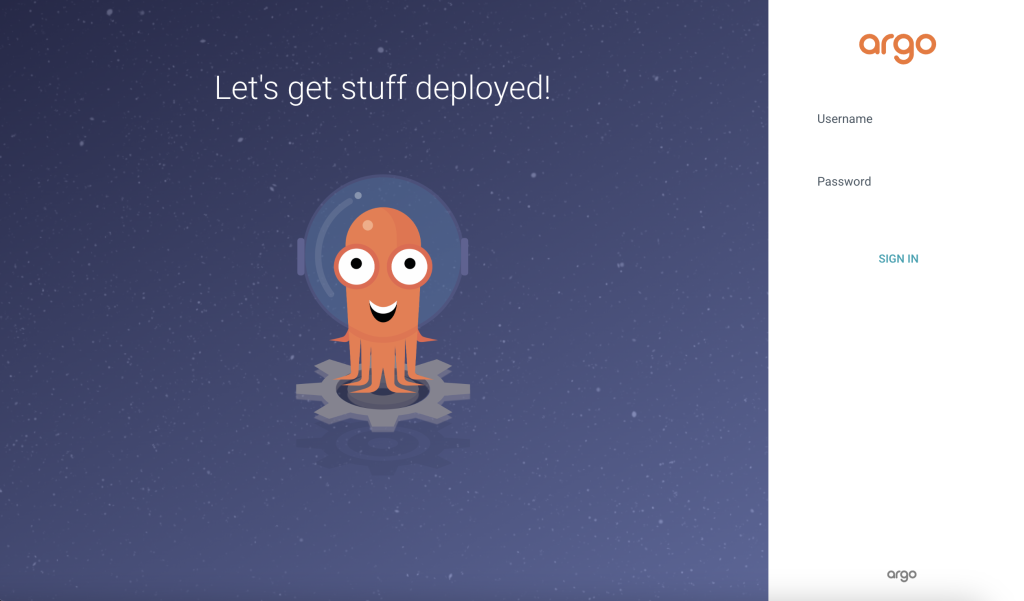
Retrieving your ArgoCD credentials
Your credentials were stored in a Secret in your Kubernetes cluster when you were deploying it, but also you can use the argo command-line tool to retrieve the password. The user by default is “admin”.
argocd admin initial-password -n argocdHowever a good practice is always changing the default password of your service, you can do it also using the argocd command-line tool
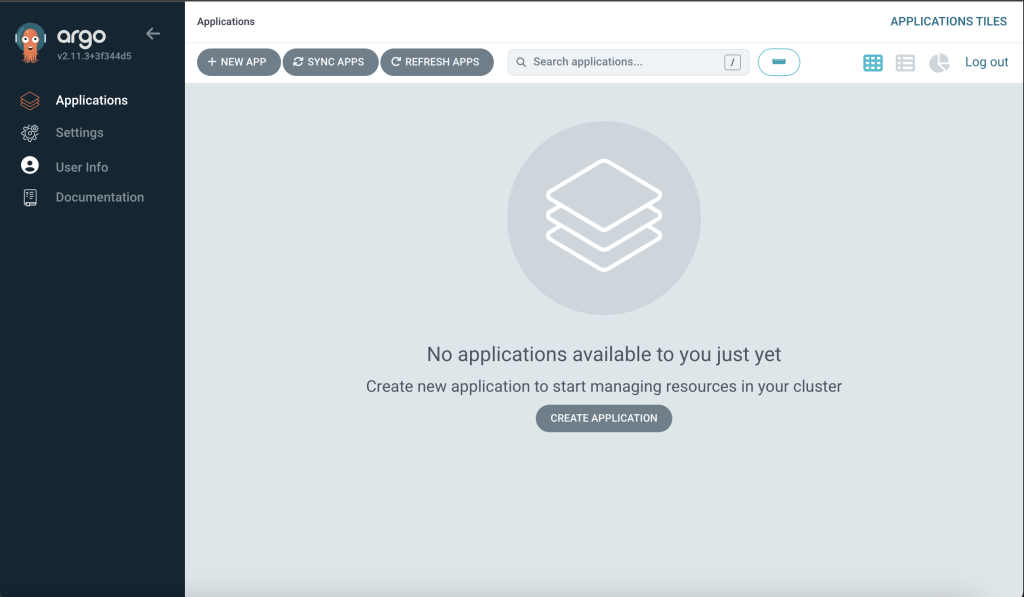
argocd account update-passwordOnce we have logged in using our credentials, we should see a site like the following.
Farewell
If you enjoyed reading this first part, stay tune to get to know in the next one how to configure the deployment on ArgoCD of our apps.
Also, if you need to know more about Kubernetes, visit our latest posts.